APIs are a crucial component in the software development process, allowing applications to communicate with each other. To ensure that the API functions correctly, API testing is essential. This testing process includes checking the response, response code, message, and response structure. For automated API testing, the combination of Jest and SuperTest is a popular choice among many developers. In this article, we will guide you through the process of API testing with Jest and SuperTest, from installation to running the tests.
Prerequisites
Before getting started, ensure the following:
- Node.js and npm are installed on your machine. If not, you can download them from the Node.js website.
- A code editor (IDE) of your choice. In this article, we will use Visual Studio Code (VS Code).
Installing Jest and SuperTest
Step 1: Create a New Project
- Create a new folder to hold your project and navigate to that folder.
- Within this folder, create a subfolder named tests to store the API test files.
Step 2: Install the Tools
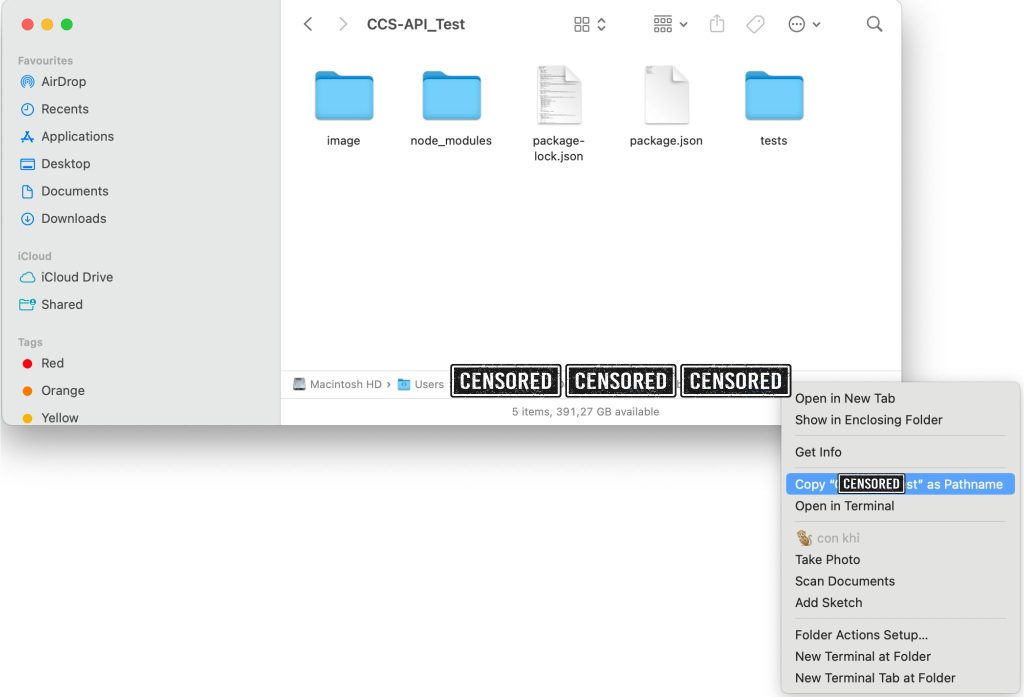
- Open the Terminal and navigate to the project folder using the command:
cd "path to the folder" - Initialize a new Node.js project by running:
npm init -y - Proceed to install Jest and SuperTest with the following commands:
npm install jest npm install supertest - Open VS Code and open the project folder.
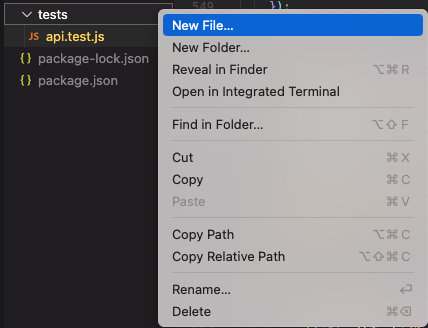
- Create a new file in the tests folder named api.test.js. This will be where your API test cases are written.
Writing API Test Cases
Use the following code to write a simple API test using SuperTest and Jest:
const request = require("supertest");
//import SuperTest library

//describe is a group of test cases that share a common theme (e.g., test cases for the Sign-Up screen)
describe("Sign Up by Email", () => {
  let userID; //declare variable userID

//Test case for the Sign-Up feature using email and password
  test("Sign Up", async () => {
    const response = await request("https://your-domain.com") //declare domain
      .post("/signup") //declare method and API endpoint
      .send({
        email: "[email protected]",
        password: "123456",
        name: "Name",
      }) //declare sign-up information (email, password, username)
      .set("Content-Type", "application/json"); //declare the format of the request body
    userID = response.body.data.user_info.id; //assign value to the userID variable

//Test case passes when all Expect() conditions are met
    expect(response.status).toBe(200); //Check the status code
    expect(response.body.result).toBe(true);
    expect(response.body.data.user_info).toMatchObject({
      id: userID,
      email: "[email protected]",
      name: "Name",
    }); //Check that the API response matches the declared sign-up information
  });
In this example, we use SuperTest to send an HTTP POST request to register a new user account. Then, we use Jest to verify whether the API’s response is as expected.
Running the Test Case
Once the test case is written, you can run the test by opening the Terminal in VS Code and entering the command: npm test
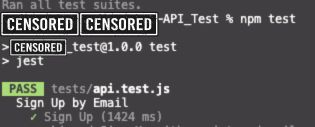
Jest will automatically run all the test cases in the project and display detailed results. This will let you know if your API is functioning as expected.
Conclusion
Using Jest in combination with SuperTest is an excellent way to automate the API testing process. This not only saves time but also ensures the quality and efficiency of your application. Try it out today to experience the benefits of automated API testing with Jest and SuperTest.