Spine is a powerful tool for creating complex 2D animations, while Godot is a free, open-source game engine loved by the development community. Combining both will help you create stunning characters and dynamic effects for your game. In this article, we’ll guide you in detail on how to use Spine in Godot, from installation to importing and managing Spine files.
Installing Godot and Spine to use Spine Data in Godot
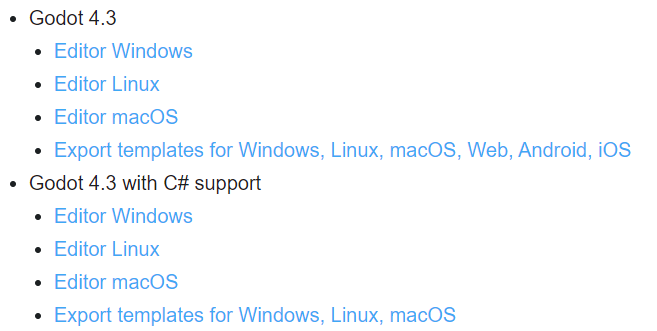
To start using Spine in Godot, you need to install the custom build version of Godot provided by Spine, including Godot export templates. Here’s how:
- Step 1: Download and install the custom build of Godot.
- Step 2: Open Godot editor, go to
Editor > Manage export templates... - Step 3: Select
Install from fileand install the.tpzexport templates file from Spine.

Note: If Spine doesn’t have the version of Godot you need, you can compile the Godot editor and export templates yourself. Detailed instructions can be found at Spine-Godot.

Exporting data from Spine to use in Godot
To use Spine in Godot, export the following files:
- skeleton-name.spine-json or skeleton-name.skel: Contains skeleton and animation data.
- skeleton-name.atlas: Contains texture atlas information.
- skeleton-name.png: The packed image of the skeleton.
Ensure these files are saved in an organized folder for easy importing into Godot.
Importing Spine data into Godot
- Open your Godot project: Open your project, create a new folder within
res://to store the files from Spine. - Copy files: Copy all the exported files from Spine into the newly created folder.
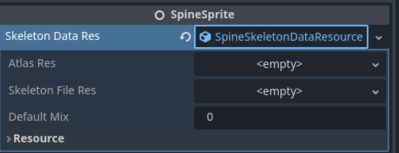
- Create a Spine Node: Use SpineSprite or SpineSkeletonDataResource to start using Spine data in Godot.
Configuring SpineSprite in Godot

Once imported successfully, you can configure and control the animations from Spine.
- Load Skeleton: In the Inspector of the Spine node, locate the
Skeleton Dataproperty. ClickLoadand select the.skelor.spine-jsonfile you imported. - Control Animation: Use functions like
set_animation(),add_animation(), andget_scale_x()to control animations.
Example of GDScript to control animations in Godot:
gdscriptCopy codeextends SpineSprite

func _ready():
    get_animation_state().set_animation("walk", true, 0)  # Start with "walk" animation

func _process(delta):
    if Input.is_action_just_pressed("attack"):
        get_animation_state().set_animation("attack", false, 0)
Notes when using Spine
- Compatibility Version: Ensure you are using the correct custom build of Godot for Spine to avoid errors.
- Refer to the Official Documentation: For more details and advanced features, check the Spine-Godot Runtime documentation.
Conclusion
Using Spine in Godot not only enhances professionalism but also helps you create smooth and dynamic 2D visual effects. We hope this guide will assist you in developing your game!

